When it comes to garage door opener installation, DIYers often think they can do it themselves. But installing a garage door opener can be a complex task, and if not done properly, it can lead to costly repairs or even personal injury.
What do you need?
Before you begin, make sure you have all the necessary tools and parts for the installation. You will need a power drill, a screwdriver, a level, a ladder, a garage door opener, mounting brackets, and mounting hardware.
Additionally, you should have safety glasses, gloves, and a dust mask to protect yourself while working. If you are looking for a garage door opener installation service, you may browse this site.
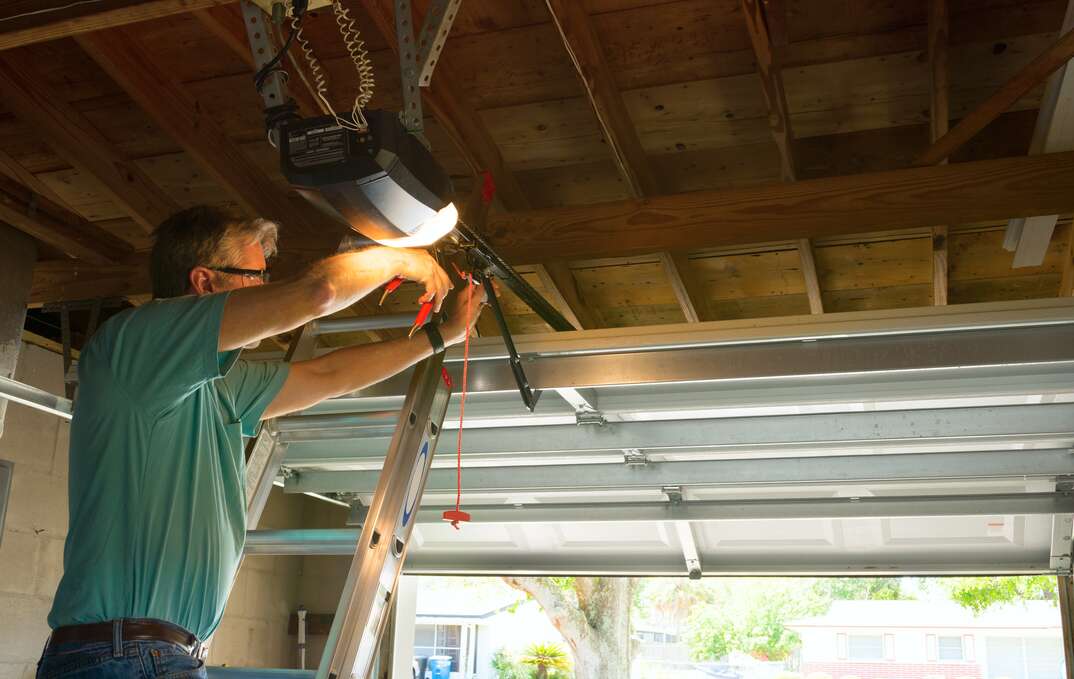
Image Source: Google
Safety precautions
Safety is key when installing a garage door opener. Make sure you read all the instructions that come with the opener before beginning the installation.
It’s also important to disconnect the power source before starting. If you’re unsure about the wiring or have any questions, it’s best to consult a professional.
Step-by-step instructions
Once you have the necessary tools and parts, you can begin the installation.
1. Install the mounting brackets onto the garage door. Secure the brackets with the mounting hardware.
2. Attach the garage door opener to the mounting brackets. Make sure it’s level and secure it with screws.
3. Connect the power source to the opener. Make sure the wiring is connected properly and secure it with wire nuts.
4. Test the opener to make sure it’s working properly.
5. Finally, install the safety sensors. These will help prevent the door from closing if something is in its path.