Refurbishing old dressers is a fantastic way to breathe new life into your living space without breaking the bank. Whether you have a vintage piece that needs some TLC or you're looking to update a tired dresser, refurbishing can give it a whole new look and feel. Let's explore some creative ideas on how to revamp your home with refurbished dressers.
1. Choosing the Right Dresser
Before you start your dresser refurbishing project, it's essential to choose the right piece. Look for a dresser that has good bones and is made of solid wood. Avoid dressers with major structural damage, as they may require more work than you're willing to put in. Consider the size and style of the dresser to ensure it fits well in your space.
Things to consider when choosing a dresser:
- Solid wood construction
- Good structural condition
- Size and style that complements your space
2. Preparing the Dresser for Refurbishment
Once you've selected a dresser, it's time to prepare it for refurbishment. Start by removing any hardware such as knobs and handles. Clean the dresser thoroughly to remove dirt, grime, and old finishes. Sand the dresser to create a smooth surface for painting or staining. Repair any dents, scratches, or other imperfections before moving on to the next step.
Steps to prepare the dresser for refurbishment:
- Remove hardware
- Clean the dresser
- Sand the dresser
- Repair imperfections
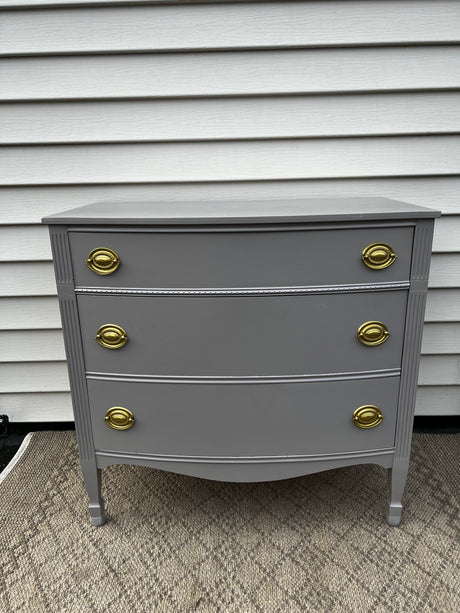
3. Refinishing Options
When it comes to refurbishing a dresser, you have several options for refinishing. You can choose to paint the dresser in a solid color for a modern look, or opt for a distressed finish for a shabby chic feel. Staining the dresser can enhance the natural beauty of the wood, while adding a pop of color with a bold hue can make a statement in your space. Consider using stencils, decals, or wallpaper to create unique designs on your dresser.
Refinishing options for your dresser:
- Painting in a solid color
- Distressed finish
- Staining to enhance the wood
- Adding stencils, decals, or wallpaper for unique designs
4. Adding Personal Touches
To truly make your refurbished dresser your own, consider adding personal touches that reflect your style and personality. Replace the old hardware with new knobs or handles that complement the new look of the dresser. Add decorative accessories such as drawer liners, trinket dishes, or framed photos on top of the dresser. Consider painting the inside of the drawers a contrasting color for a fun surprise every time you open them.
Ideas to add personal touches to your dresser:
- Replace hardware with new knobs or handles
- Add decorative accessories on top of the dresser
- Paint the inside of the drawers a contrasting color
5. Maintaining Your Refurbished Dresser
Once you've completed your dresser refurbishment project, it's important to maintain the new look of your piece. Regularly dust and clean the dresser to prevent dirt and grime from building up. Avoid placing hot or wet items directly on the surface of the dresser to prevent damage. If you notice any scratches or chips, touch them up with a matching paint or stain to keep your dresser looking fresh and new.
Tips for maintaining your refurbished dresser:
- Regularly dust and clean the dresser
- Avoid placing hot or wet items directly on the surface
- Touch up any scratches or chips with matching paint or stain